Give a Venice Canal Photograph a Clear Foreground
Choose a clear foreground for a Venice canal photograph from a permitted public position, checking frame edges and leaving a busy passage available to others.
This article may contain affiliate links. If you buy through them, we may earn a commission at no extra cost to you. Our disclosure and editorial approach.
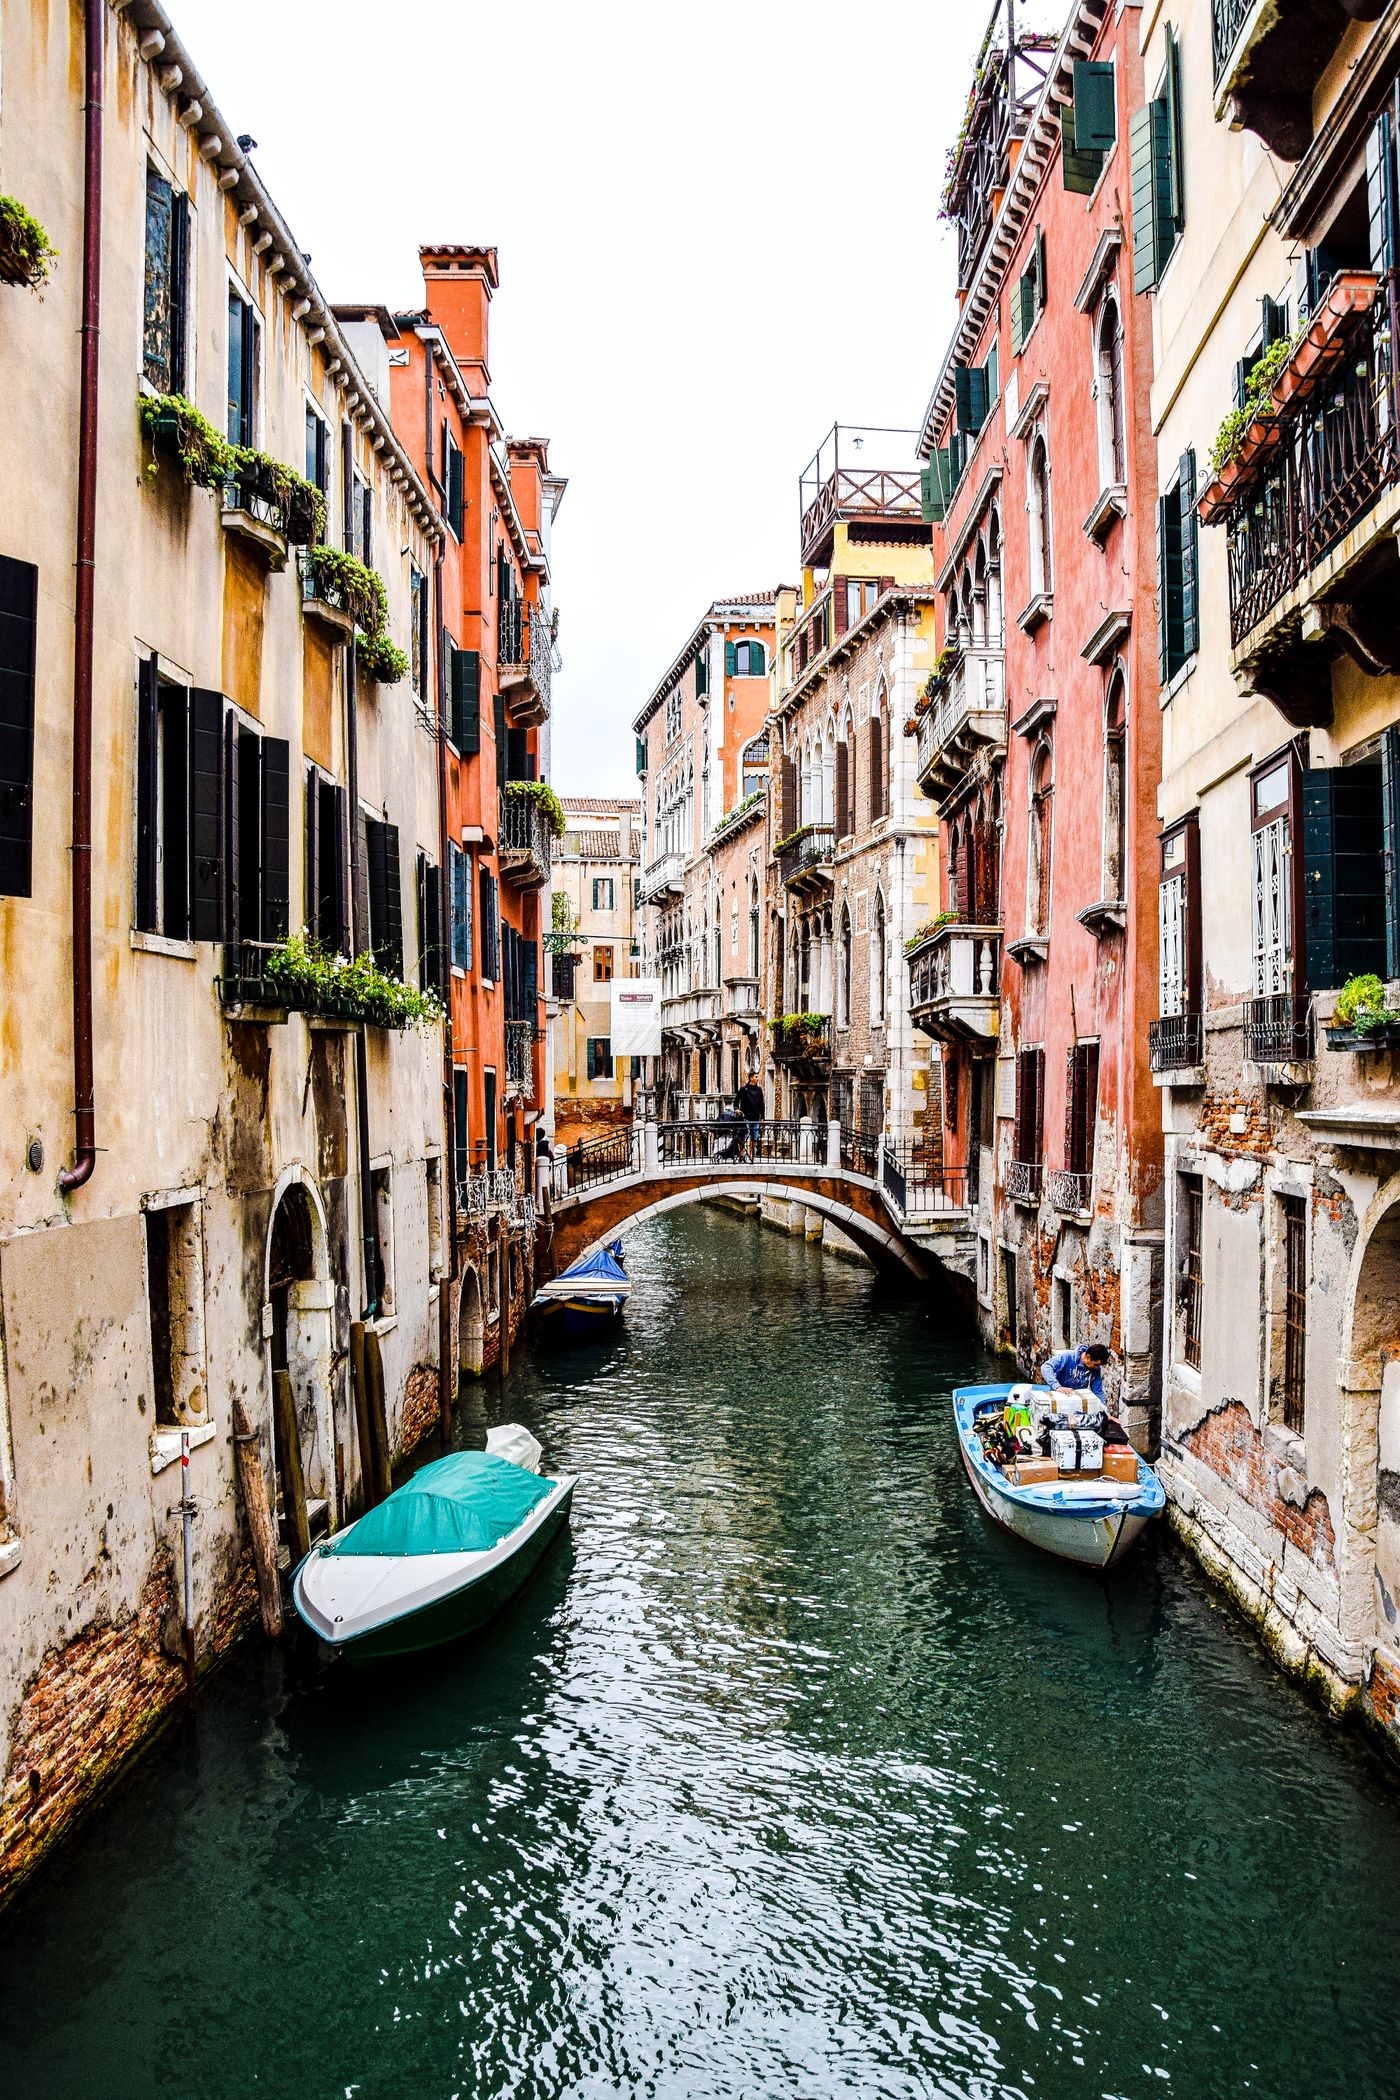
A Venice canal photograph can contain several competing subjects: a bridge, water, windows, moored boats and the edges of nearby buildings. Choosing a foreground gives that busy scene a clearer structure. You do not need to find a famous viewpoint or imitate an existing picture. Work from a permitted position you can use considerately, and decide what the nearest part of the frame should contribute.
Start with a position you can actually use
Stay in public areas where photography is permitted and follow local instructions. Avoid private steps, mooring areas or restricted edges simply because they offer an uncluttered angle. If the position is busy, let people pass and make the photograph brief. A bridge or narrow route remains a route even when the view beyond it is attractive.
Settle your belongings before raising the camera. Keep straps and bags close rather than spreading equipment across a walkway. If you cannot comfortably manage the camera in the available space, choose another position or enjoy the view without making a photograph. The composition is optional; the shared use of the place is not.
Decide what belongs nearest the viewer
A foreground might be the visible edge of a canal, a permitted glimpse of a wall or the nearest stretch of water. It does not need to be an object added to the scene. Ask whether it helps the eye enter the photograph or merely occupies a large area without adding a relationship to the subject.
Try a frame with less foreground and another with slightly more, while remaining in the same usable position. Compare how the bridge sits within each image. Water can provide space below an arch, while a heavy dark edge might make the scene feel more enclosed. Choose through what you see, not a rule that every picture needs three equally sized layers.
Inspect the edges before taking more pictures
Look for a building cut awkwardly at the frame's side, a partial object that draws attention or an unwanted bright patch. A modest adjustment of the camera may be enough. Do not improve an edge by moving into a position that is unsuitable for you or other people.
The phone photography workflow can help you keep a small deliberate set rather than repeating the same frame without looking. Check one image on the screen and make a specific change if needed. More pictures are useful when the composition changes, not simply because the place feels important.
Keep the chosen frame connected to the visit
Afterwards, add the location you can accurately establish and a short note about what caught your attention. Do not invent the name or history of a bridge to give the image a more impressive caption. The accurate caption guide keeps remembered context separate from unverified detail.
Keep the frame that best expresses your observation. A clear foreground can make a modest canal scene readable without turning the stop into a prolonged search for an empty city. The photograph belongs to the visit, and the visit can continue once you have made it.
About this guide
Original editorial planning advice from Helene’s In Between, based on practical scenarios rather than a product test. We do not claim hands-on product testing or a sponsored trip. Photos illustrate the topic and do not document a product test.
Suggestions are general editorial ideas. Adapt them to your home, itinerary and preferences.